How to Pose and Render a Fortnite Skin in Blender
Open a FortniteRenders .blend file, pose the character, frame it with a camera and export your own transparent PNG. Step by step, no Blender experience needed.
What is inside the .blend file
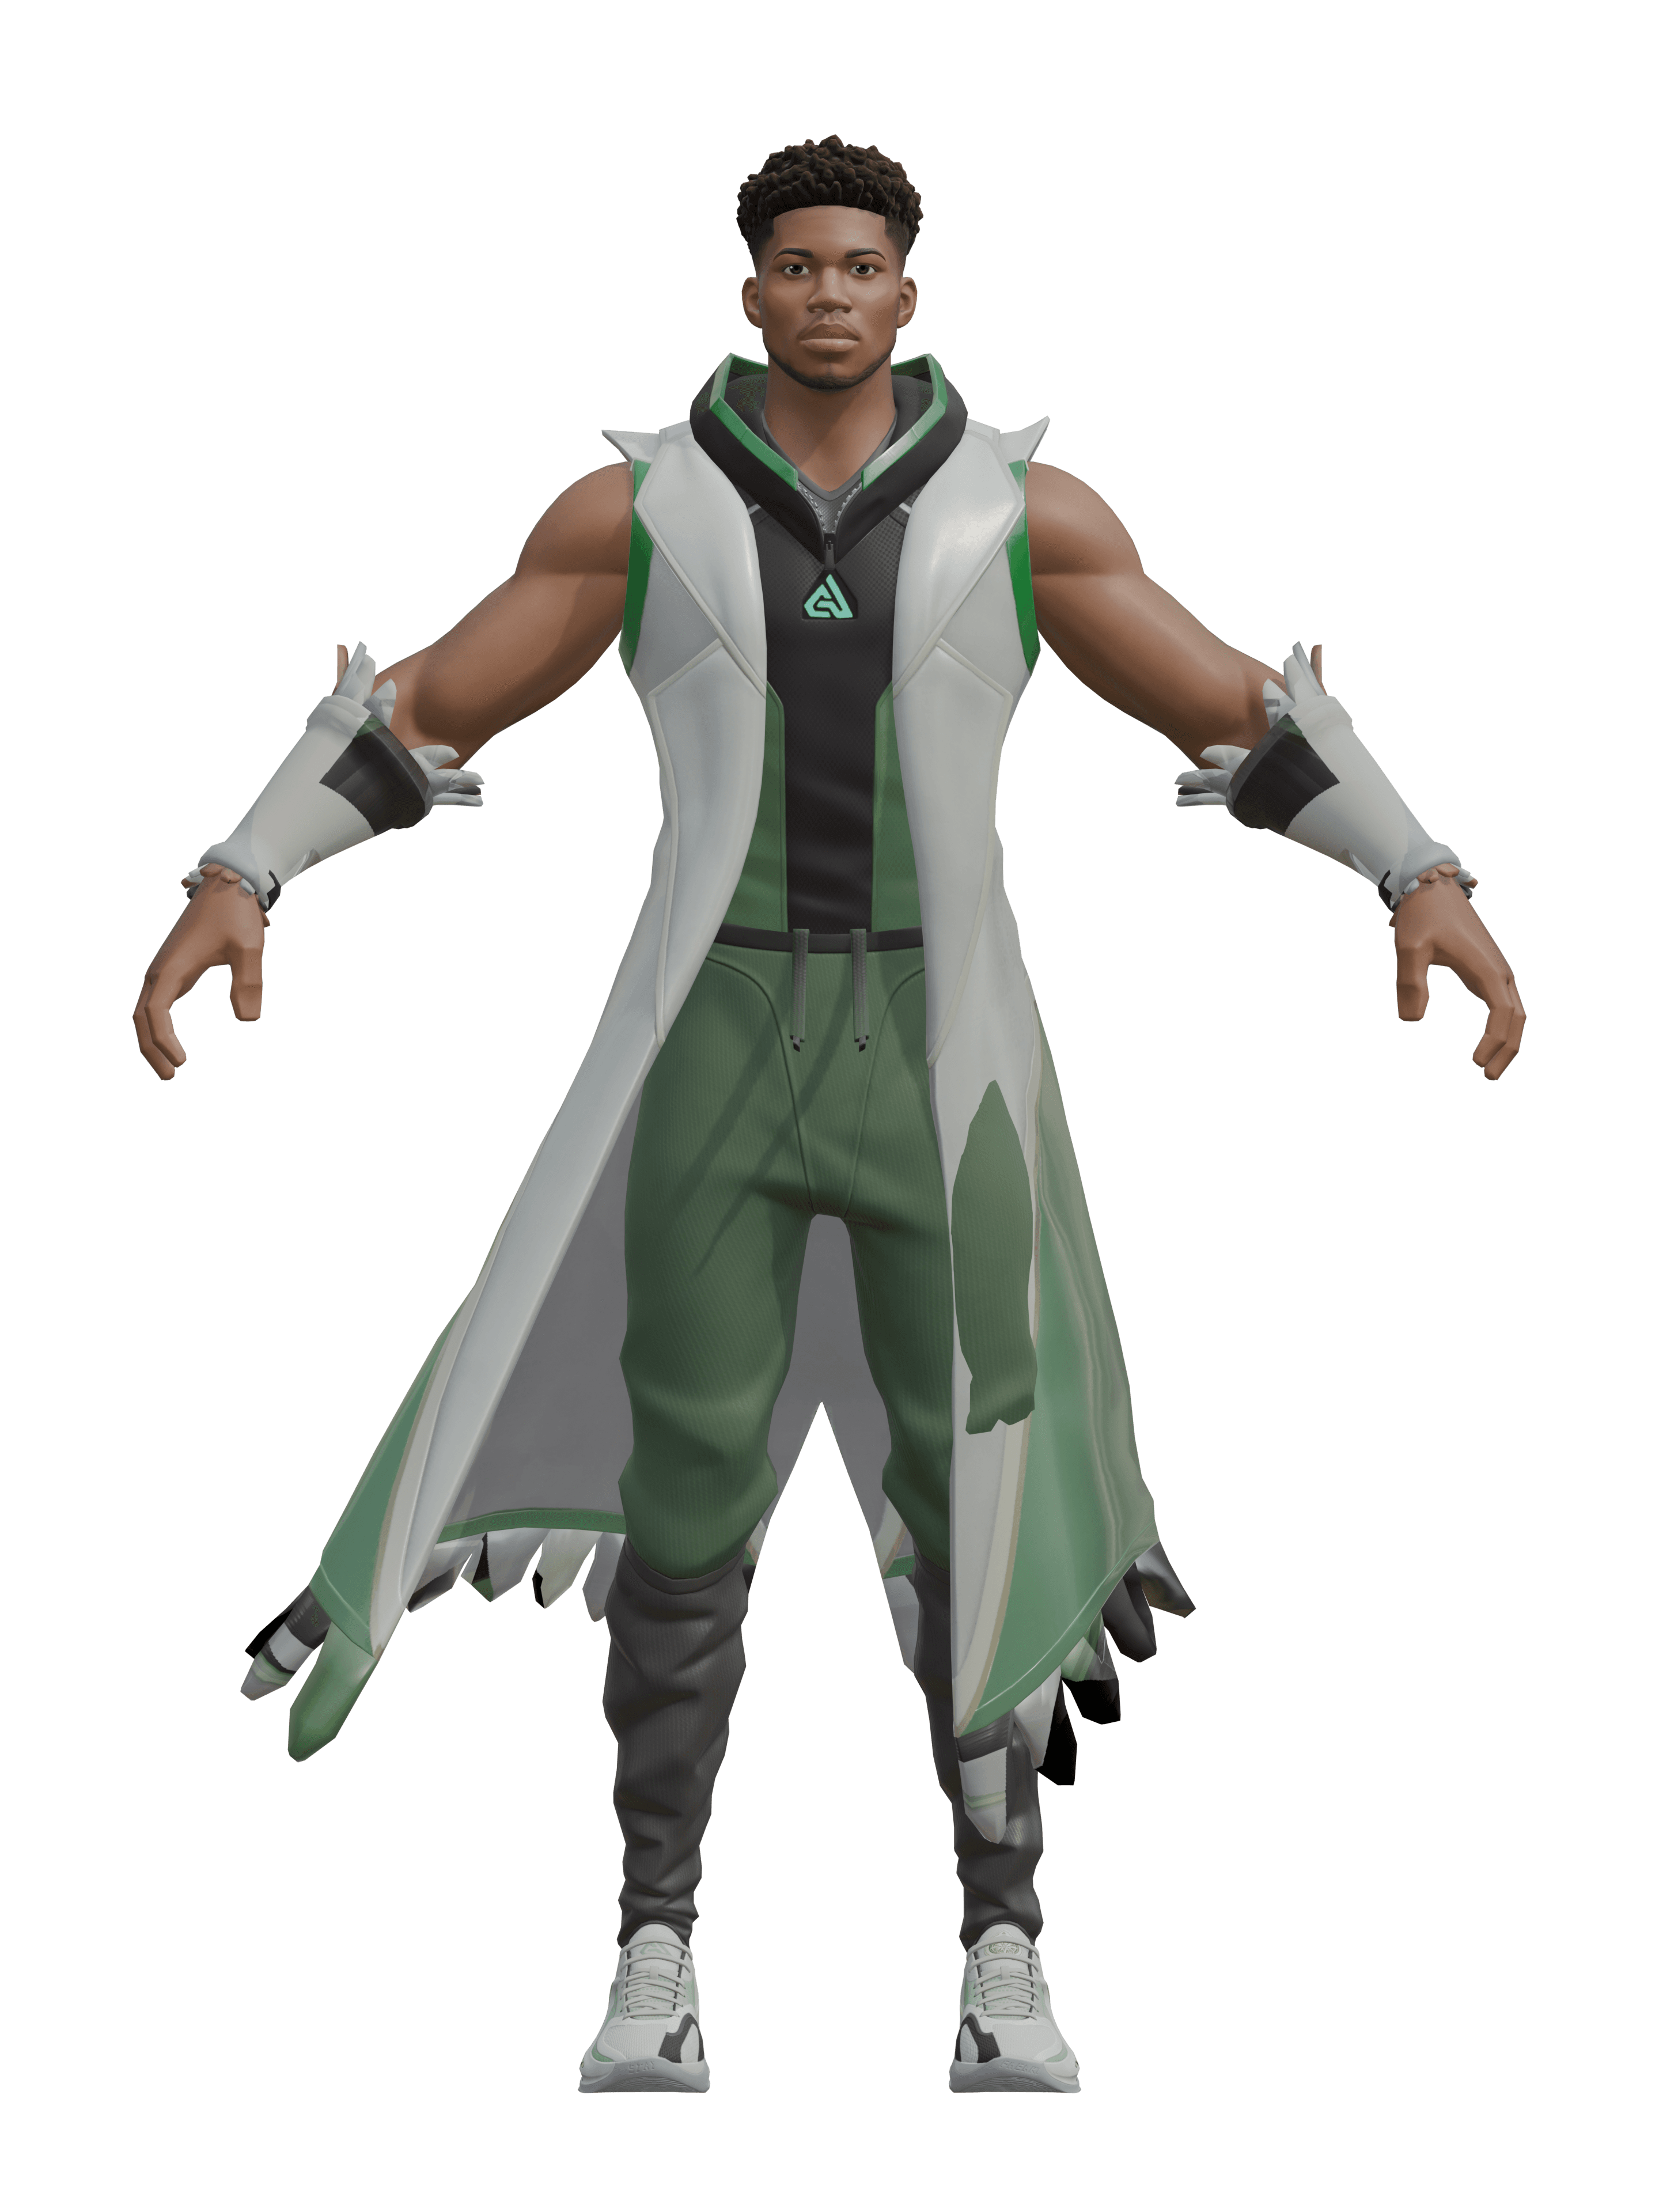
Every rendered skin on FortniteRenders comes with the Blender file that was used to make its render. It holds the complete outfit: the body, the head and the accessories as separate meshes, the skeleton that moves them, and all the textures, packed inside the file so there is nothing to relink.
The materials are the ones our pipeline rebuilt from the game, already connected, and the scene is lit by the same studio HDRI as our renders. The render engine is set to EEVEE, Blender's real-time engine, so a render takes seconds rather than minutes.
The files are saved with Blender 5.0: open them with Blender 5.0 or a newer version, which you can download for free from blender.org.
Step 1: open the file and look around
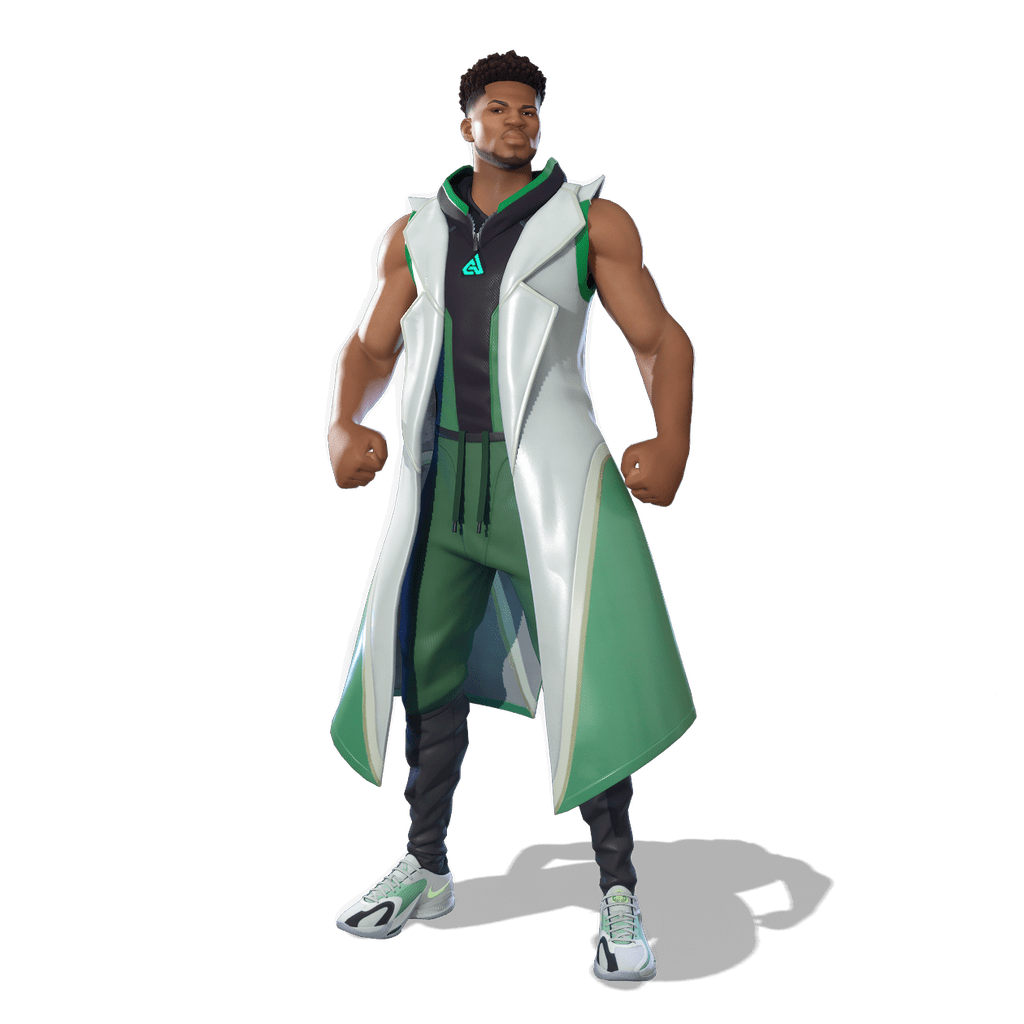
Download the .blend from the skin's page with the Download .BLEND button, then open it with File › Open or by double-clicking it. The character stands in the middle of the 3D viewport.
Switch the viewport to Material Preview or Rendered shading (the sphere icons in its top-right corner) to see the textures and the lighting. Orbit with the middle mouse button, pan with Shift + middle mouse button and zoom with the wheel.
Step 2: pose the character
Click the skeleton (the armature) to select it, then switch to Pose Mode with Ctrl + Tab. Every bone can now be selected and rotated: press R to rotate the selected bone, type X, Y or Z to lock the axis, move the mouse and click to confirm.
The skeleton keeps the bone names of the game (pelvis, spine_01, neck_01, head, upperarm_l, thigh_r and so on), and each bone carries the ones after it: rotate an upper arm and the whole arm follows. Work from the body outwards: hips and spine first, then the head, then the arms and hands.
Made a mistake? Alt + R resets the rotation of the selected bones. Select every bone with A, then press Alt + R: the character returns to its neutral A-pose, the one of our renders.
Step 3: add a camera
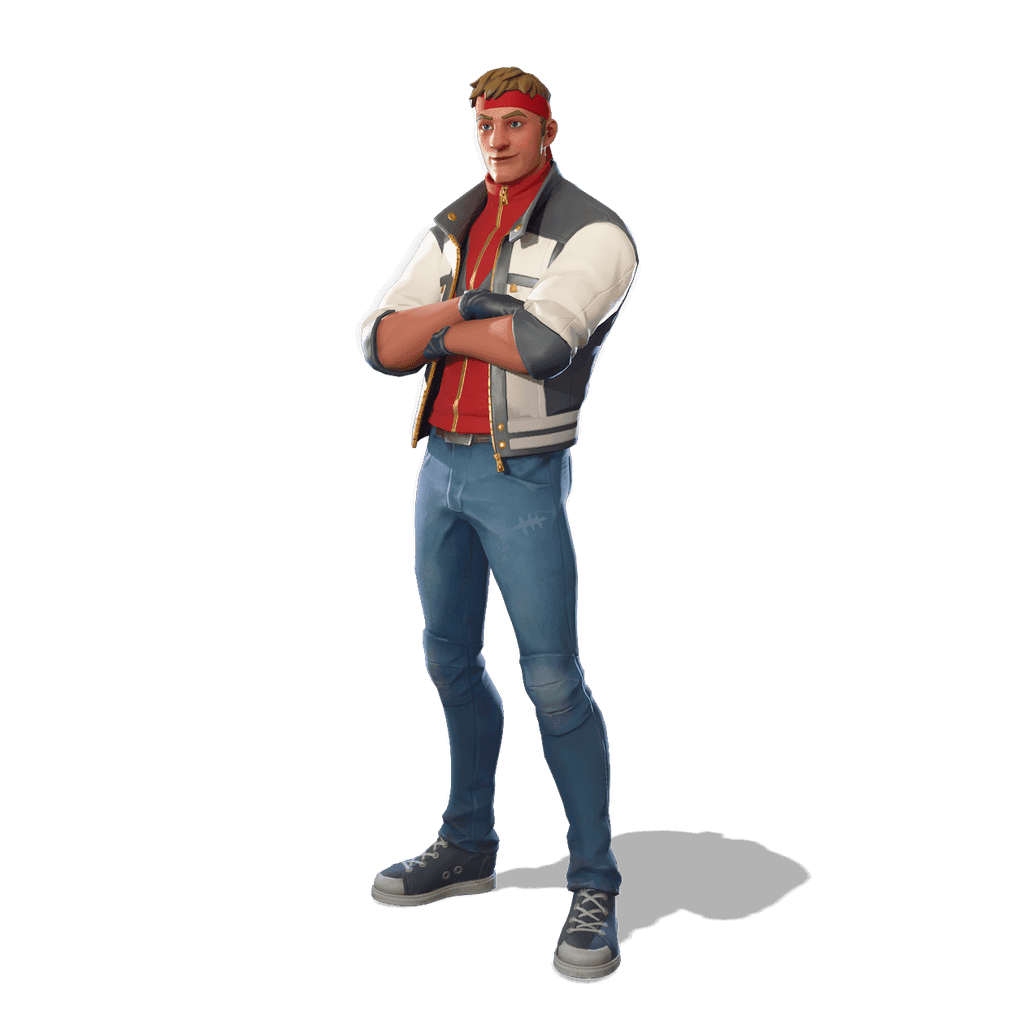
The file has no camera, so add one with Add › Camera. Move around the viewport until you like the framing, then choose View › Align View › Align Active Camera to View (Ctrl + Alt + Numpad 0): the camera jumps to your point of view.
In the camera's properties, a focal length between 50 and 85 mm keeps natural proportions for a portrait. Shorter lenses exaggerate the perspective, which can look dramatic on a thumbnail when the character reaches towards the viewer.
Step 4: render a transparent PNG
Open the Render properties and tick Film › Transparent: the background becomes transparent instead of showing the lighting environment. In the Output properties, set the size you need, for example 3840 × 2160 for a 4K landscape image.
Press F12 to render, then use Image › Save As in the render window. Choose the PNG format with Color set to RGBA to keep the transparency. You now have your own render of the skin, in a pose nobody else has, ready for a thumbnail or an illustration.
Tips for better results
Light: the HDRI gives soft, even lighting. For a punchier look, add an Area light (Add › Light › Area) behind the character and slightly to one side: it draws a bright rim along the silhouette and separates it from your background.
Styles: each style of a skin has its own .blend file. Choose the style in the selector on the skin page before downloading.
The renders and models are free for your creations (see the terms of use). Remember that Fortnite and its characters belong to Epic Games.
Download them for your thumbnails
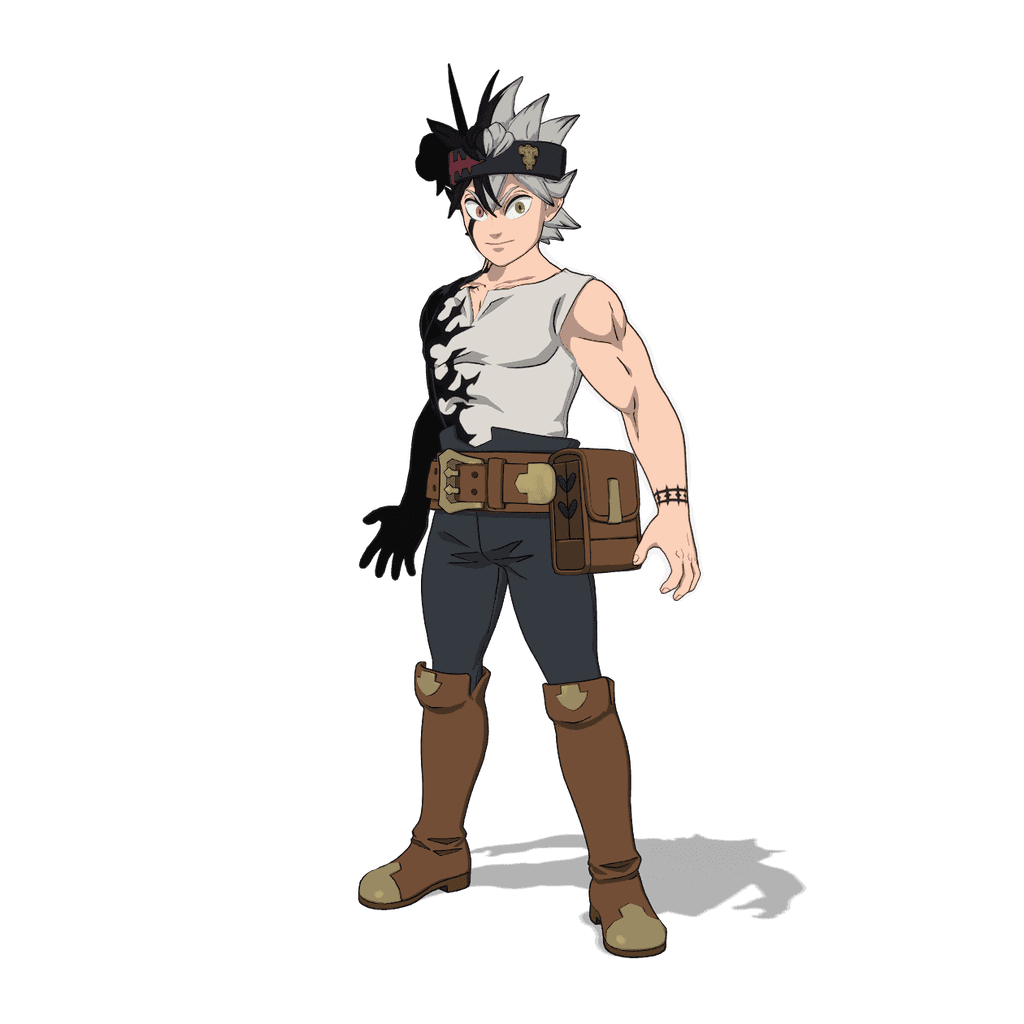
4K transparent PNGs and Blender 3D models (.blend), free for your thumbnails and illustrations.